
What to Expect During the Installation of Resin Driveway
Resin driveways have become a popular choice for modern properties thanks to their sleek appearance, durability, and low-maintenance finish. Homeowners often choose resin surfaces because they provide a clean and contemporary look while also offering practical benefits such as permeability and long-term performance. Before starting a project, it is useful to understand how the installation process works so you know what to expect at each stage. Careful planning and choosing an experienced installer are both important when aiming for a high-quality finish that lasts for years.
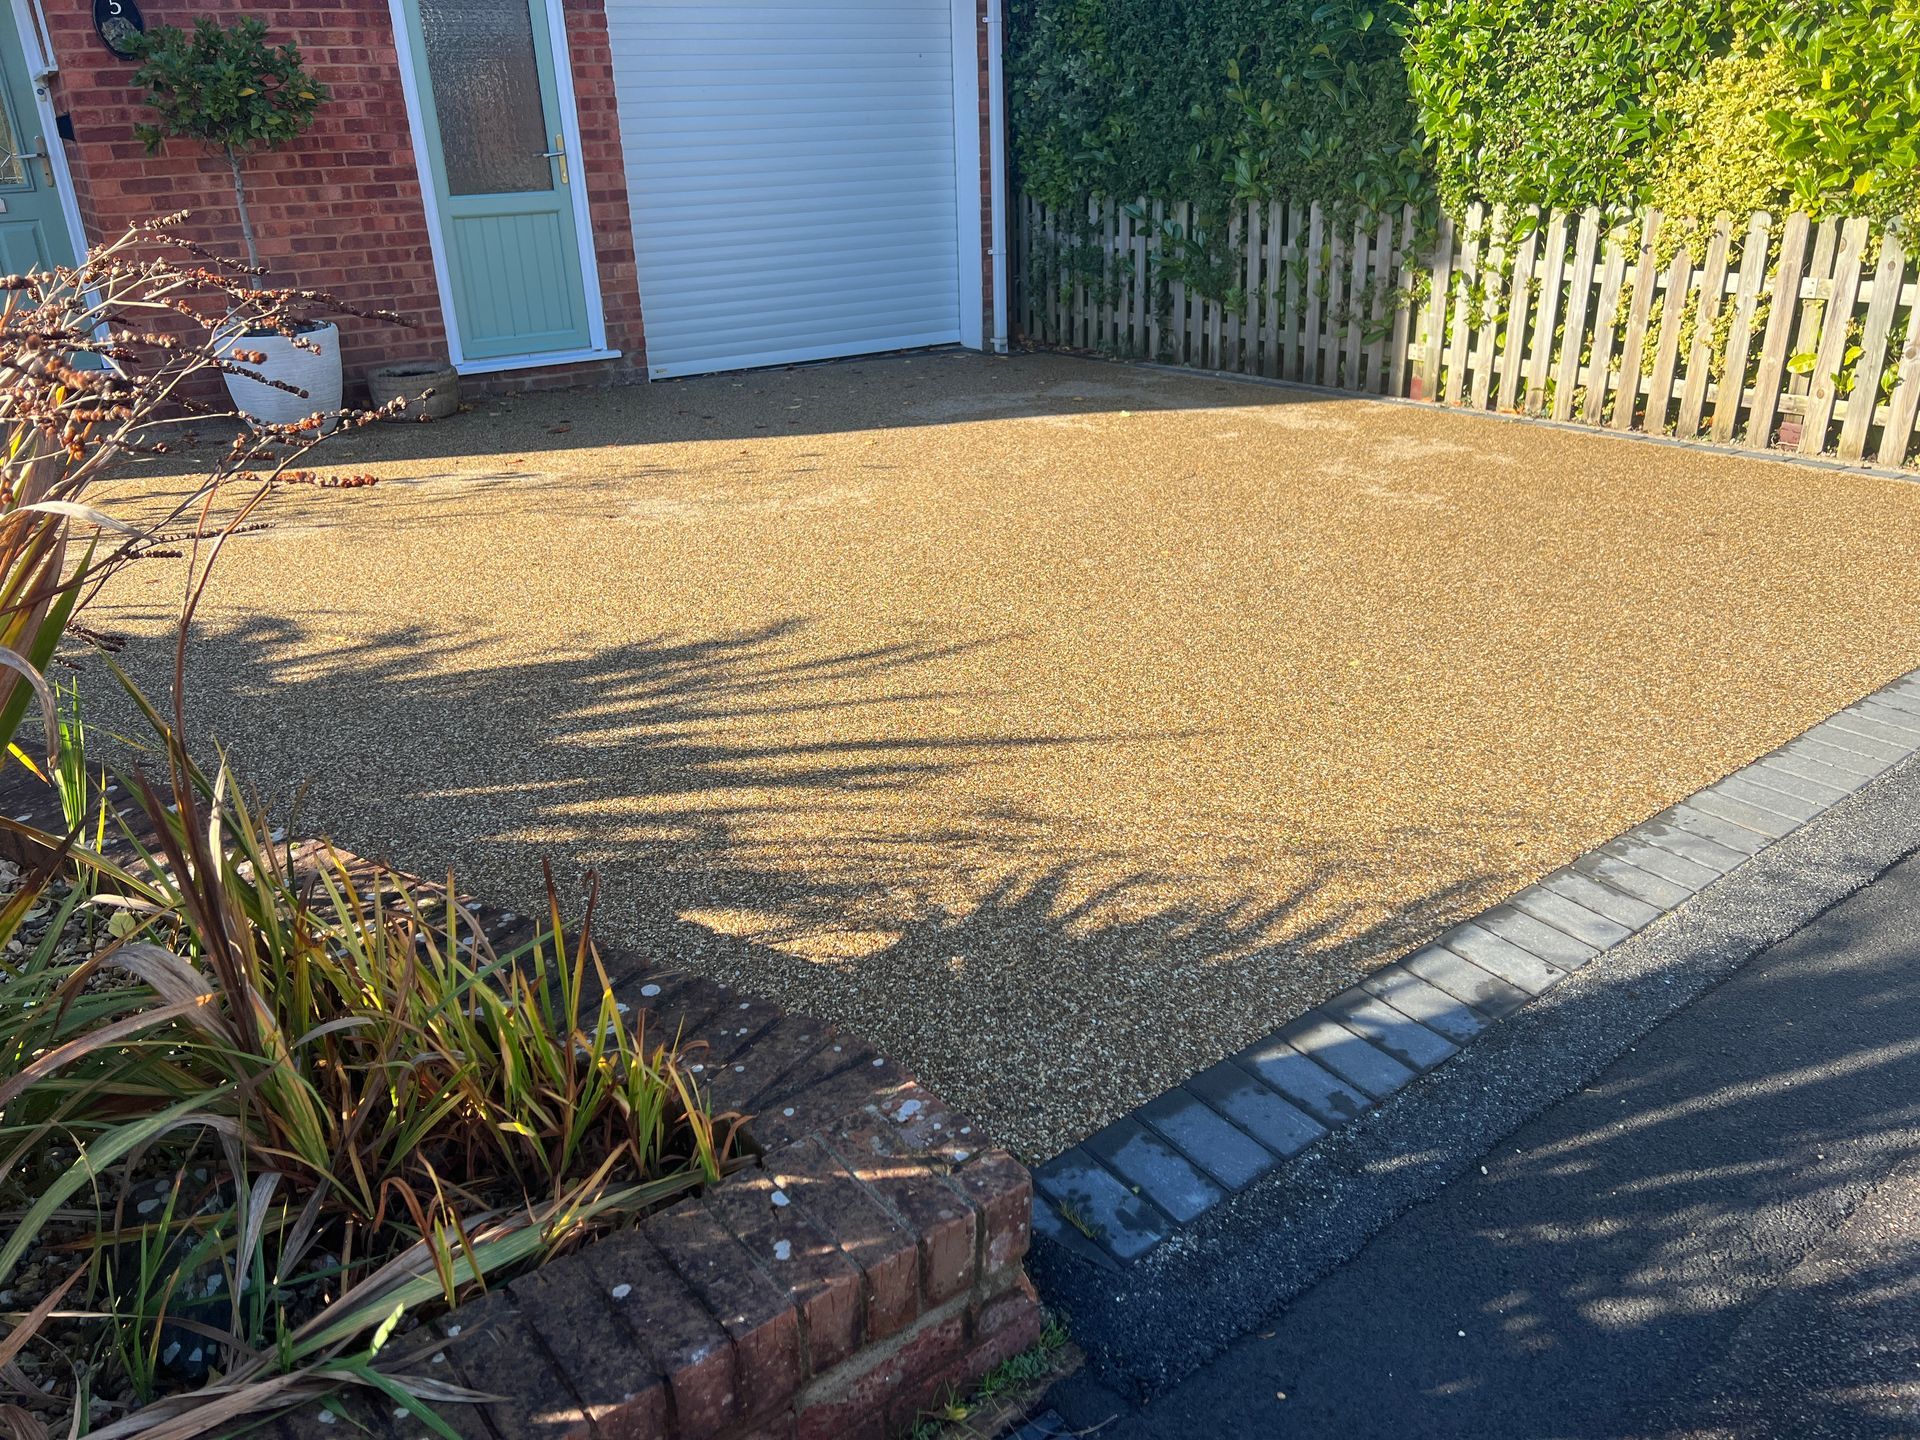
Explanation of Exactly What is a Resin Driveway
The Process
Step 1 – Site Inspection and Planning
The process usually begins with a full assessment of the existing area. Installers will inspect the current surface to determine whether it is suitable for resin application or if additional preparation work is required. Drainage is also carefully considered at this stage to ensure water can flow away effectively once the driveway is complete.
Homeowners will also choose design features during the planning phase, including aggregate colours, edging styles, and layout preferences. This allows the finished driveway to complement the property’s appearance.
Step 2 – Ground Preparation
Preparation is one of the most important stages of the installation process. In some cases, the old driveway may need to be removed entirely. The area is then cleared and levelled before work begins on the foundation.
A strong sub-base is essential for long-term durability. This usually involves laying and compacting hardcore to provide stability, followed by a layer of sand to create an even surface. Proper preparation helps prevent issues such as cracking or sinking later on.
Step 3 – Preparing the Base
Resin surfaces require a solid foundation, typically concrete or asphalt. If the existing base is still structurally sound, it may be repaired and reused. Ensuring the base is stable and level is vital for achieving a long-lasting result.
Step 4 – Mixing the Materials
The resin and aggregate are generally mixed on site to ensure consistency throughout the installation. The correct balance of materials is important, as it affects both the appearance and strength of the finished surface.
Step 5 – Applying the Resin Surface
Once the mixture is ready, it is spread evenly across the prepared area and carefully levelled to create a smooth finish. Edges and borders are shaped neatly to improve the overall appearance. Maintaining the correct depth throughout the installation is important for both durability and performance.
Step 6 – Curing the Surface
After application, the driveway must be left to cure fully. During this period, foot traffic and vehicles should be kept off the surface. In most cases, the driveway can be walked on after around 24 hours, while vehicles can usually access the area after 24 to 48 hours depending on weather conditions.
Factors That Can Affect Installation
everal factors may influence the installation timeline. Weather conditions are particularly important, as heavy rain or cold temperatures can delay the curing process. Dry weather generally allows the surface to set more effectively.
The size of the driveway and any custom design features can also affect how long the project takes. Additional groundwork or drainage adjustments may extend the installation period further.
What to Expect During the Project
During installation, access to the driveway will be temporarily restricted. There may also be some noise and disruption while groundwork is being completed. Professional installers will normally aim to minimise inconvenience and keep homeowners informed throughout the project.
The Importance of Professional Installation
Choosing an experienced installer is essential for achieving a durable and attractive result. Correct preparation and application help reduce the risk of drainage issues, cracks, or uneven surfaces. Taking the time to research contractors and check reviews can help ensure the work is completed to a high standard.
Conclusion
Resin bound driveways are often quicker to install than many traditional driveway surfaces, making them a convenient option for homeowners. Most projects can be completed within a few days, including preparation and curing time. By understanding the installation process and working with skilled professionals, homeowners can achieve a long-lasting driveway that improves both the appearance and functionality of their property.
You might also like
Longevity Resin Driveways